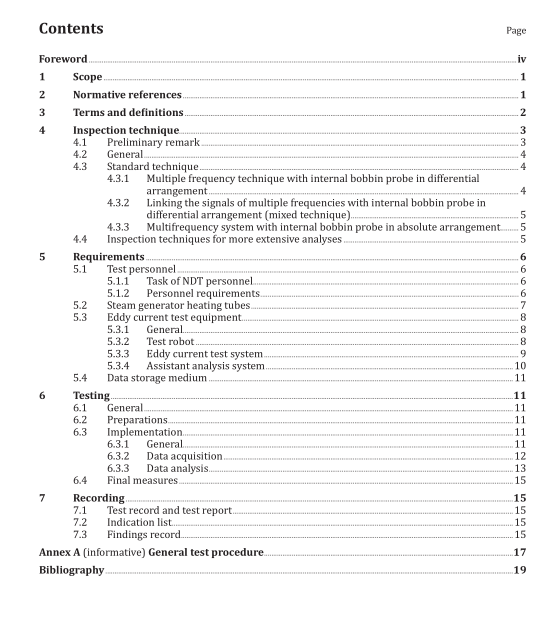
BS ISO 20890-5:2020 pdf download.Guidelines for in-service inspections for primary coolant circuit components of light water reactors Part 5: Eddy current testing of steam generator heating tubes.
4.2 General
During the eddy current testing of steam generator heating tubes, it is the task of the evaluation to differentiate the recorded signals according to
— operational indications (location, expansion and possibly their type, e.g. cracks, abrasions, dents), — geometric indications (e.g. of structural parts such as spacers, tube bottom, rolled‑in slugs), and
— other indications (e.g. of local fluctuations in the electrical conductivity and permeability, electrical interference, wobble effect of the probes, impurities on the inside or outside of the tube, production indications as well as any external parts present).
To attain a sufficiently accurate reproduction of the signal sequence, the spatial resolution shall be set so that the required spatial resolution is ensured by the selected sampling rate and the probe speed.
The probe speed shall be dependent on the base frequency and sample rate and shall be no faster than the speed required to obtain a clear signal from the reference standard through
‑wall hole, within the calibration limitations described in 6.3.3.2. The following inspection technique can be used for the eddy current testing of steam generator heating tubes as part of the standard technique:
— Multiple frequency technique with internal bobbin probe (differential arrangement, see 4.3.1; absolute arrangement, see 4.3.3);
— Linking of the signals of multiple frequencies with internal bobbin probe in differential arrangement (see 4.3.2). If the standard technique is inadequate for evaluation of the eddy current signals, eddy current techniques for more extensive evaluation (see 4.4 for additional techniques, e.g. rotating scanning probes, matrix probes with T/R technique) or other non
‑destructive testing methods (e.g. ultrasonic testing, visual inspection) shall be applied. Supplementary to the standard technique, eddy current techniques for more extensive analyses can also be used as localisation systems in case of specific requirements (e.g. testing in the area of tube bottom/roll‑in slugs).
4.3 Standard technique
4.3.1 Multiple frequency technique with internal bobbin probe in differential arrangement
4.3.1.1 Basic frequency The total tube circumference is recorded integrally when testing with an internal coaxial probe. The extension of indication can therefore only be determined in the axial direction. In the undisturbed area, evaluation of the signals of a frequency for determining location, depth and axial extension of an operational change is sufficient. If indications overlap (e.g. operational indications and form indications), a statement is generally only possible with restrictions.
The multifrequency technique shall then be used in the mix (linking of multiple frequencies) (see 4.3.2). When testing operationally indications, the test frequencies used are generally in the range from 10 kHz to 1 MHz. The basic frequency shall be selected so that the phase offset angle between a 20 % flat-bottom hole applied on the outside of a reference specimen and a through-wall drilled hole is in the range from 90° to 120°.
4.3.1.2 Comparison between the signals of several individual frequencies with internal bobbin probe If indications occur, further frequencies can be used for the differentiation of interference signals and operationally indications in addition to the basic frequency.
The individual frequencies shall be selected so that a significant phase offset angle is reached between indications and interference signals.
4.3.2 Linking the signals of multiple frequencies with internal bobbin probe in differential arrangement (mixed technique)
4.3.2.1 General Two to four frequencies are used generally for this inspection technique. Linking the signals of multiple frequencies (mix) allows a quantitative analysis of operationally indications even when indications with interference signals overlap. However, the test sensitivity (fault detectability) generally declines for areas in which the evaluation is conducted in the mix. The following two mixes shall be used as a minimum:
— 2‑frequency mix for the area of the spacers and the area of the tube bottom; — 3‑frequency mix for the area of tube bottom with tube expansion (roll‑in).
4.3.2.2 Two-frequency mix The frequencies shall be selected so that the interference signals of all structural parts (e.g. spacers, corrugated iron, and oscillation limiters) are suppressed. The phase offset angle between a wall thickness weakening of 20 % applied on the outside of a reference specimen and a wall penetrating reference fault shall be in the range from 80° to 100°.
4.3.2.3 Three-frequency mix The frequencies shall be selected so that the interference signals of rolling and tube bend upper edges or support plates and “pilger effects” are suppressed simultaneously. In addition, the mix phase offset angle for wall thickness weakening applied to the outside of a reference specimen of 60 % and 20 % shall exhibit a difference of minimum 40°.BS ISO 20890-5 pdf download.BS ISO 20890-5 pdf download
