ISO 22074-8:2022 pdf download.Railway infrastructure — Rail fastening systems — Part 8: Test method for vertical stiffness
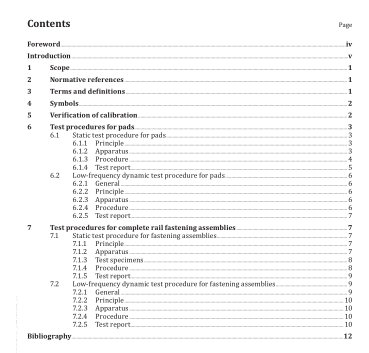
6 Test procedures for pads
6.1 Static test procedure for pads
6.1.1 Principle A force is applied normal to the test pad and the displacement is measured.
6.1.2 Apparatus
6.1.2.1 Controlled temperature test area, area of the laboratory where the test is conducted, maintained at (25 ± 5) °C. Where pads are to be used at other ambient temperatures, additional tests shall be performed in a temperature-controlled chamber, if required by the purchaser, at one or more of the following temperatures: (−30 ± 3) °C, (−20 ± 3) °C, (−10 ± 3) °C, (0 ± 3) °C and (50 ± 3) °C. Additional test temperatures may be agreed between the manufacturer and the purchaser.
6.1.2.2 Metal plate, rigid, larger than the load distribution plate.
6.1.2.3 Load distribution plate, rectangular upper load distribution, made from metal 10 mm minimum thickness, with smooth, rounded edges, such that the load distribution plate does not damage the pad under test. The dimensions of the plate depend on the type of pad being tested as follows:
— Rail pads: the same width as the foot of the rail used for the repeated loading test (see ISO 22074-4) and a length of 210 mm. Alternatively, a short length of rail, at least 210 mm long, may be used instead of the upper load distribution plate and upper metal plate.
— Baseplate pads: the same width and length as the maximum rectangular area within the part of the baseplate transmitting the load to the pad in the fastening assembly. When the pad is supported in use over a limited area, a lower load distribution plate, of the same dimensions as the part of the pad which would be actively supported in the fastening assembly, is also required.
NOTE 1 For tests on continuous pads used in slab track a length of pad of 150 mm is used.
NOTE 2 If the metal plate described in 6.1.2.2 matches the size of the upper load distribution plate, the load distribution plate can be omitted.
6.1.2.4 Abrasive cloth, with grit size P120 to P400 (ISO 6344-1) in unworn condition, the dimensions of each sheet being not less than the full area of the pad to be tested.
6.1.2.5 Actuator capable of applying a force of (F SPmax + 10 %) kN through a spherical seating. NOTE Typically, the maximum force is 120 kN.
6.1.2.6 Displacement-measuring instruments
a) If contacting displacement-measuring instruments are used, they shall conform with ISO 9513.
b) If non-contacting displacement-measuring instruments are used, they shall be calibrated to ensure that they can measure the displacement of the metal plate relative to the base as required in 6.1.3.
The instruments shall be capable of measuring displacements as follows:
— for pads with a declared stiffness ≤ 100 MN/m, displacement measurement within ±0,02 mm;
— for pads with a declared stiffness > 100 MN/m, displacement measurement within ±0,01 mm.
6.1.2.7 Force measuring instruments conforming with ISO 7500-1:2018, Class 1 over the required range of force.
6.1.2.8 Recording equipment, to make a digital recording and print out of the displacement and applied force.
6.1.3 Procedure
All components and equipment used shall be kept at a temperature of (25 ± 5) °C or another test temperature (see 6.1.2.1) for at least 16 h prior to starting the test. Place the test set-up on a flat, rigid, horizontal base, which supports the whole area of the pad, in the following sequence: base, lower load distribution plate (if necessary), abrasive cloth (abrasive side up), pad, abrasive cloth (abrasive side down), upper load distribution plate, metal plate as shown in Figure 1. Ensure the load distribution plates are located on the active area of the pad. Locate at least three independent instruments to measure the displacement of the metal plate at equal intervals around the perimeter of the plate. Apply a force, F SPmax , with a rate of application (120 ± 10) kN/min as specified in the performance requirements for the type of track for which the pad is intended.
NOTE Performance requirements are set out in other standards. Reduce the force to the minimum value, F SP1 , and repeat this cycle of loading and unloading twice more. Increase the applied force from F SP1 to F SPmax , recording the displacement while increasing the force in this final cycle. If the displacement measured by any of the instruments differs from the average displacement by ≥20 % of the maximum displacement, repeat the loading cycle, ensuring that the force is applied centrally to the pad. Calculate the static stiffness, k SP , in MN/m from Formula (1), where d SP1 and d SP2 are the displacements associated with the applied forces F SP1 and F SP2.ISO 22074-8 pdf download.ISO 22074-8:2022 pdf download
